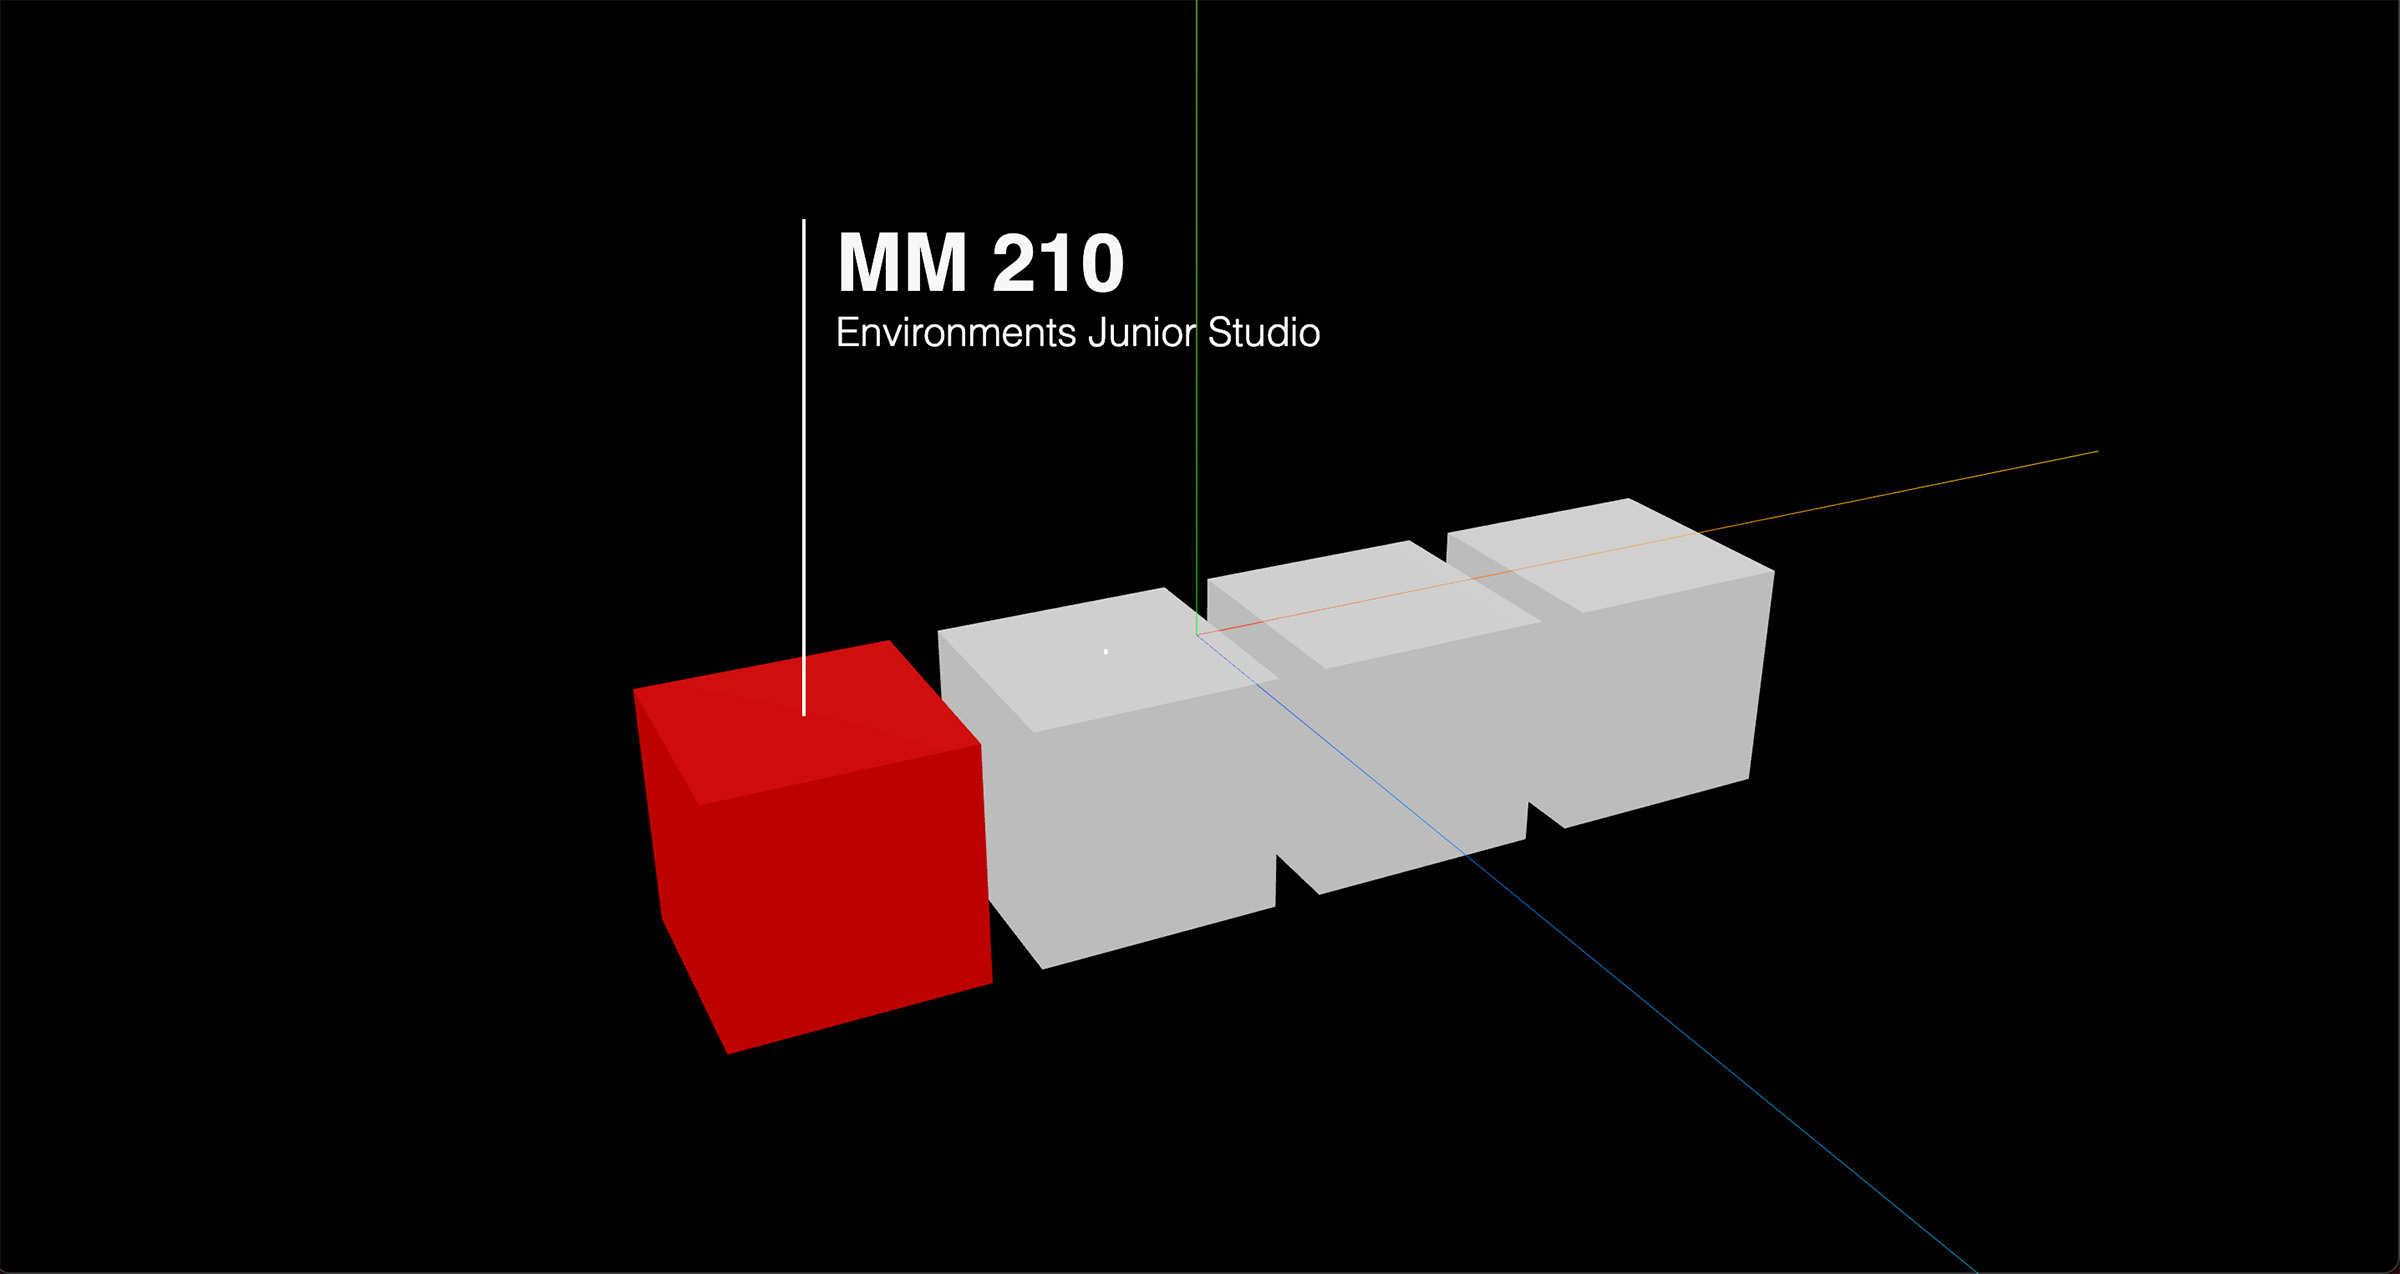
Virtual Design Studio Tour
Medium
Interactive Website
Timeline
Spring 2022
Roles
Technical Artist, 3D Developer
Tools
Houdini, Cinema4D, React, WebGL, GLSL, Polycam
Introduction
A living glimpse into the design studio that we once called home. Using a LIDAR scan of the Environments Junior Studio at Carnegie Mellon, this interactive portrait of our workspace freezes the space for visitors to explore. Users can hover over student desks to learn more about their field of work. Details such as our scale models and specialized equipment are visible in the point cloud and serve as conversation starters for our work. Take your own walk through the studio here!
Process > Photogrammetry and Scanning
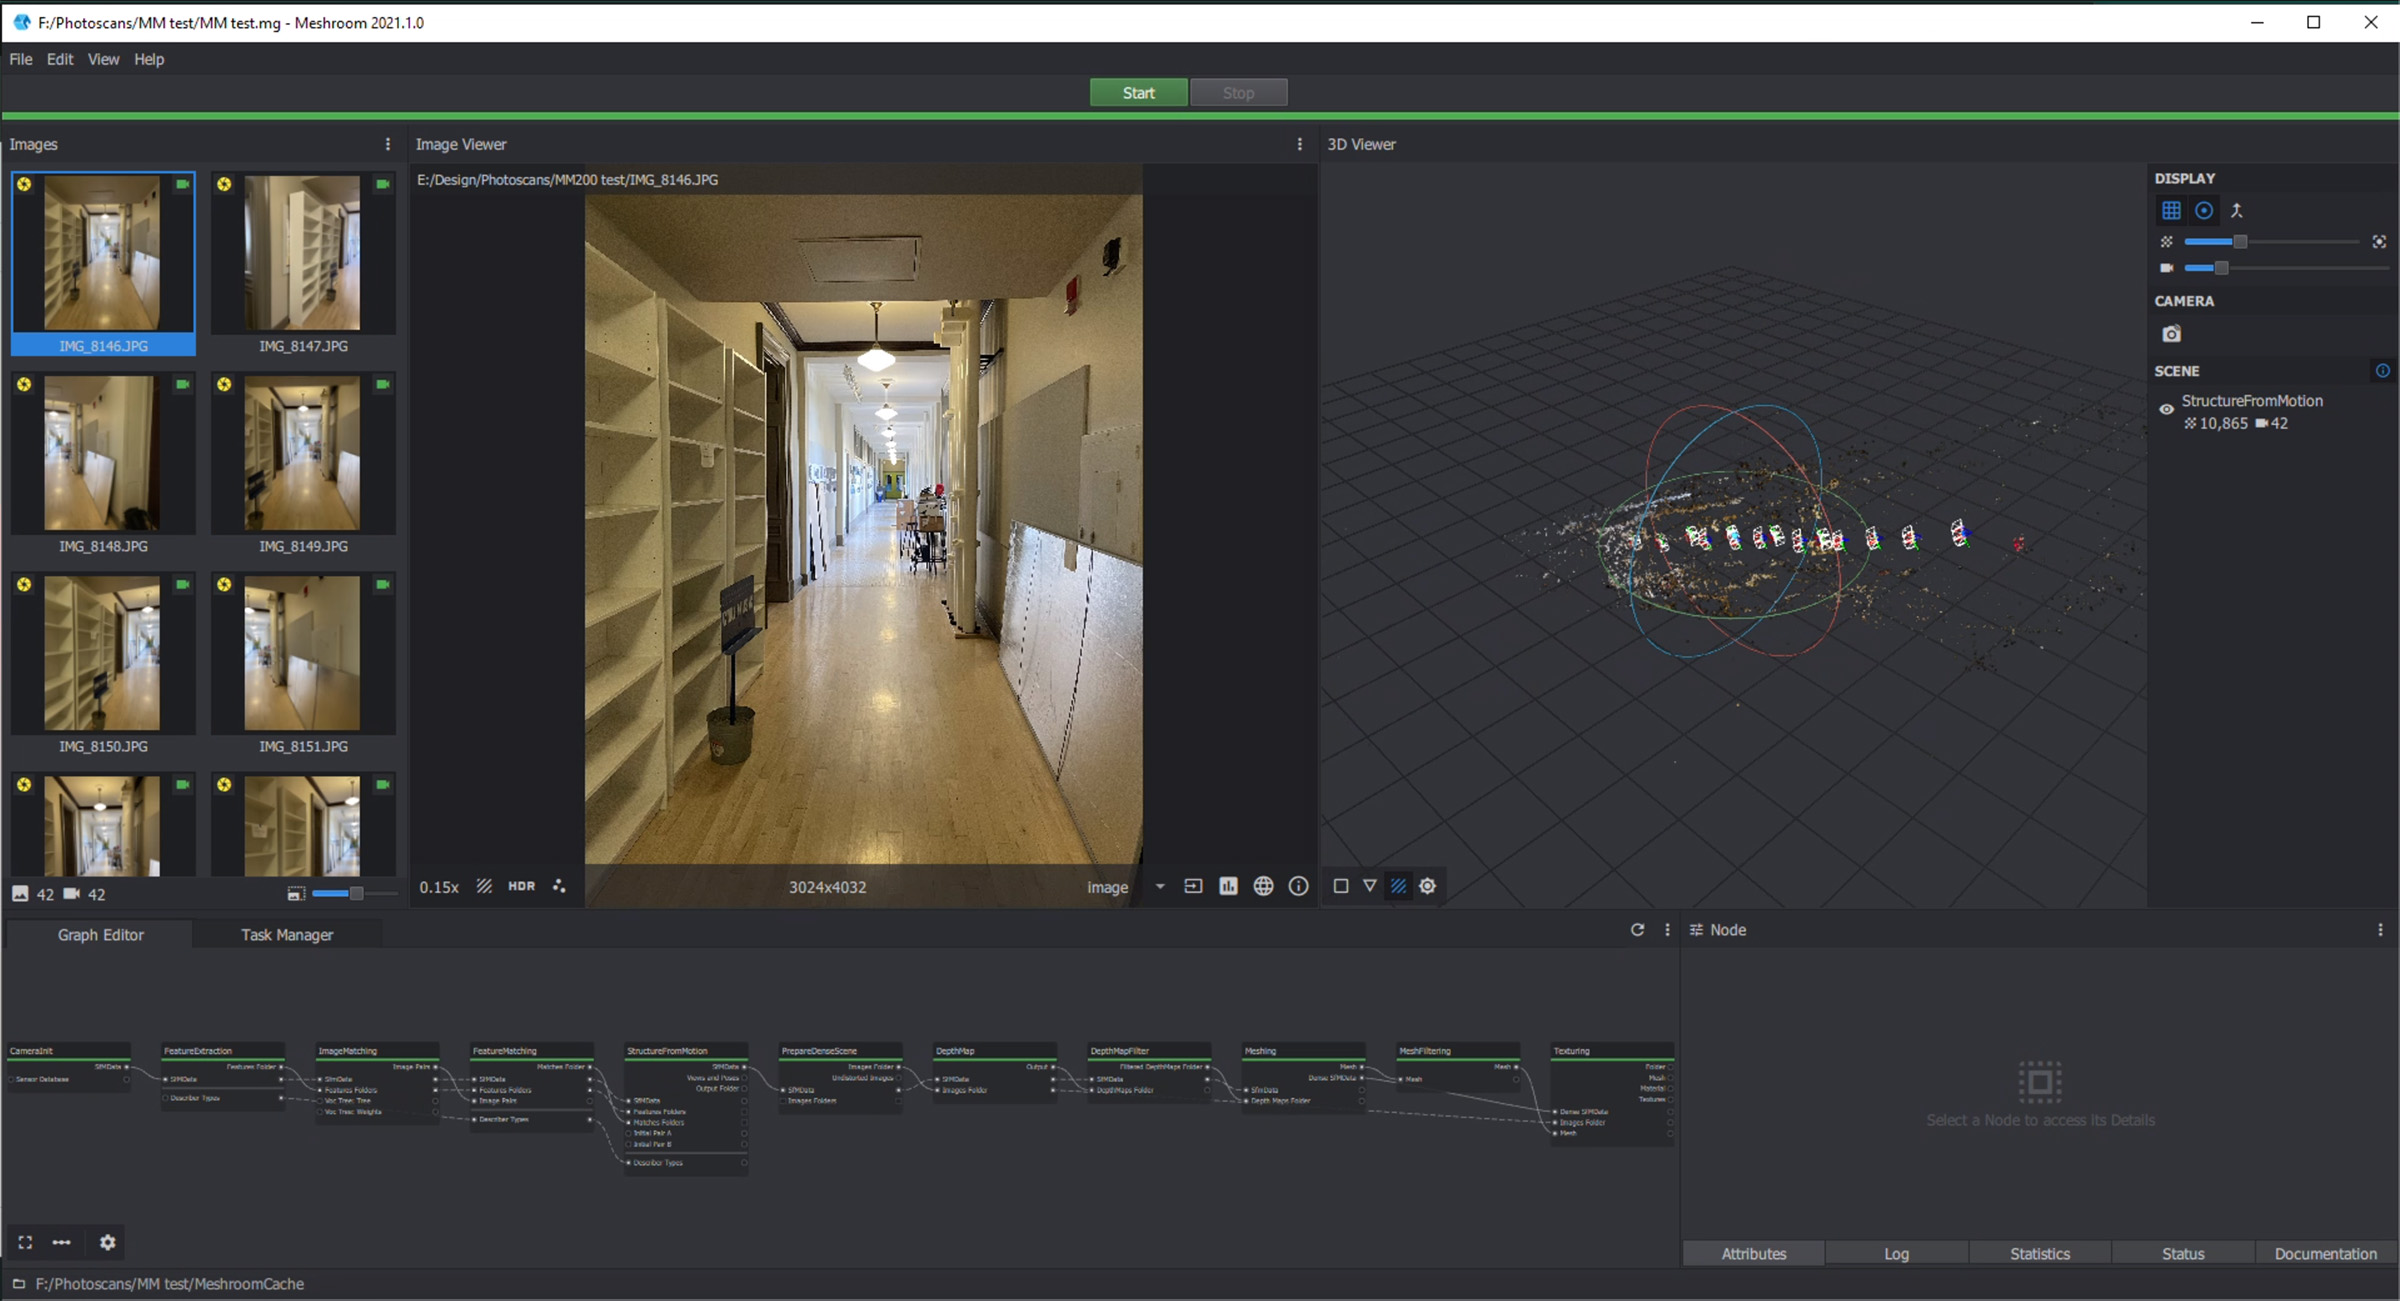
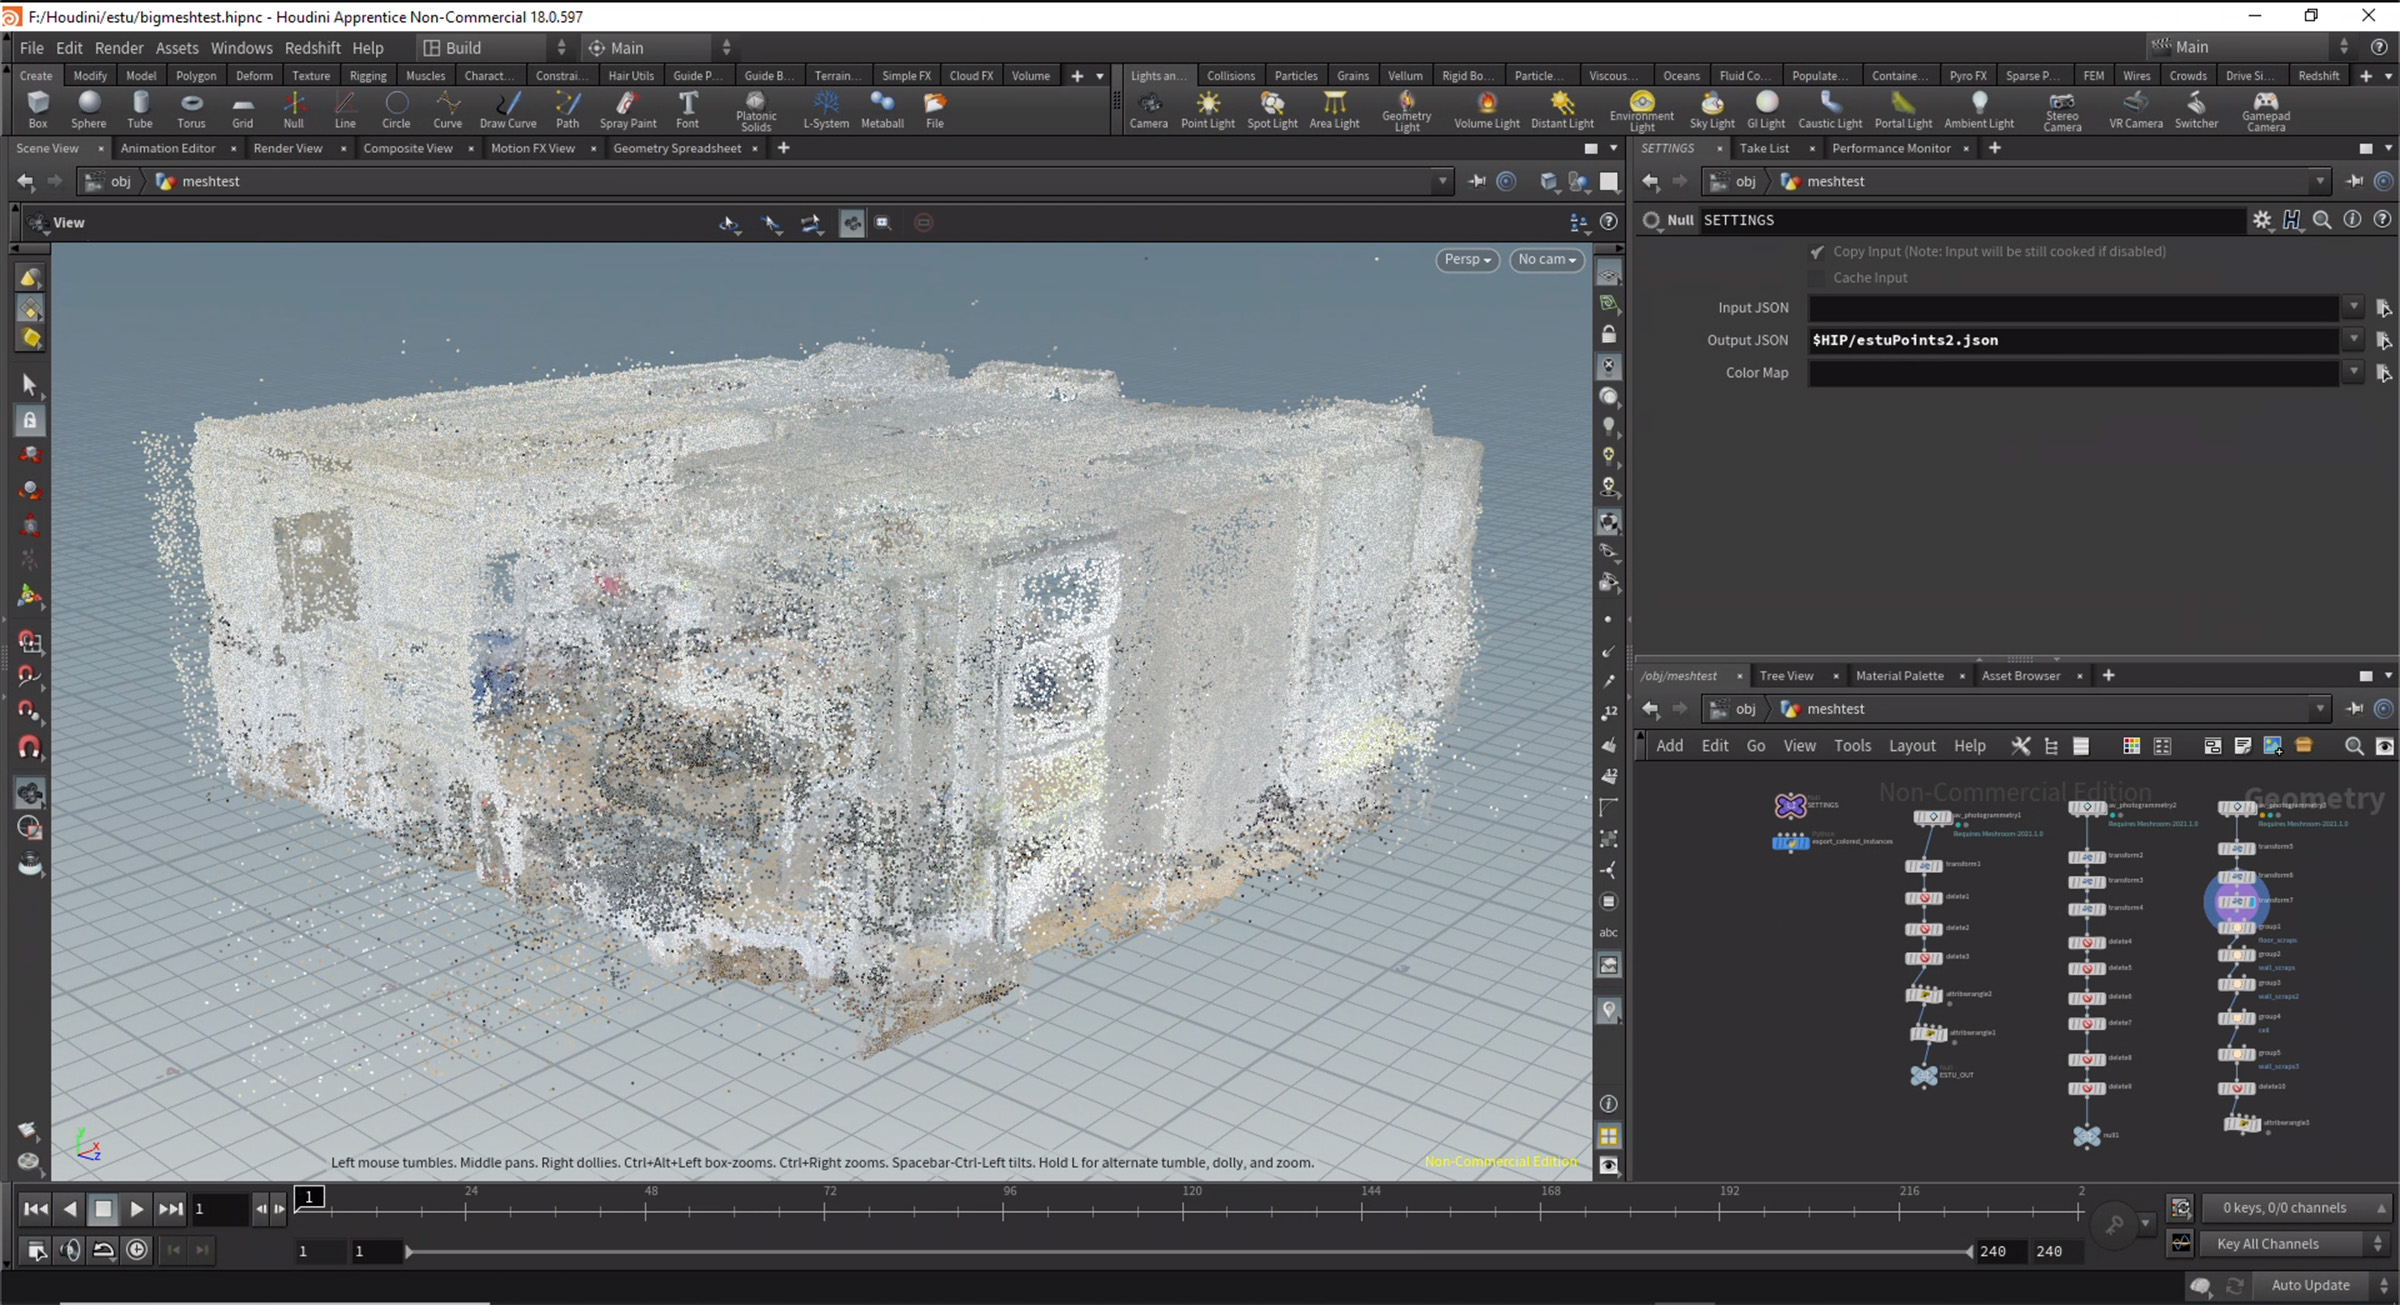
Scanning the studio and surrounding areas was my first attempt at large-scale photogrammetry. My first attempts using AliceVision’s Meshroom were of mixed success. I would take several hundred images of the hallway or room and let the program run overnight to generate as best as it could, but was quickly limited by the detail-time tradeoff. The resulting meshes were usable but noisy, and taking more images of specific details and close-ups would have only raised my electric bill. Even with these first scans, Houdini proved invaluable in cleaning up the point clouds and playing with the visibility and legibility of room features using different amounts of points.
Instead of photogrammetry, we used the new iPad Pro’s lidar sensor to scan the studio. Polycam shrunk the whole scanning and meshing process down from hours to minutes and had live updates on what the program was seeing through the sensor. This made it trivially easy to scan under tables, around chairs, or add more detail to a model on top of a desk by simply getting closer. The resulting scans were incredibly detailed and with much fewer artifacts than what we could achieve with photogrammetry. Putting the mesh through a VDB and re-meshing the volume lowered the polygon count from around 3 million to 1 million and removed all the triangles and n-gons that might mess with the textures.


Now that the model was in a single, clean mesh, it was time to texture. The original scan split the texture across 14 different files and hundreds of distinct islands, which made it nigh impossible to bake with all the overlapping islands. Furthermore, the new mesh had drastically different topology from the scan. Luckily, RocketLasso has a genius trick to solve both these problems. After using Houdini to give the model a single 4K UV map, we can arrange the two models like a nesting doll and invert all the polygons of the new model to point towards the original scan inside it. This allows us to use a single material with no roughness in combination with a light located at the origin to cast the texture from the original scan to the new model by baking only its reflection channel. Our resulting texture is only a few megabytes and stores almost all the color data with just a few seams visible.
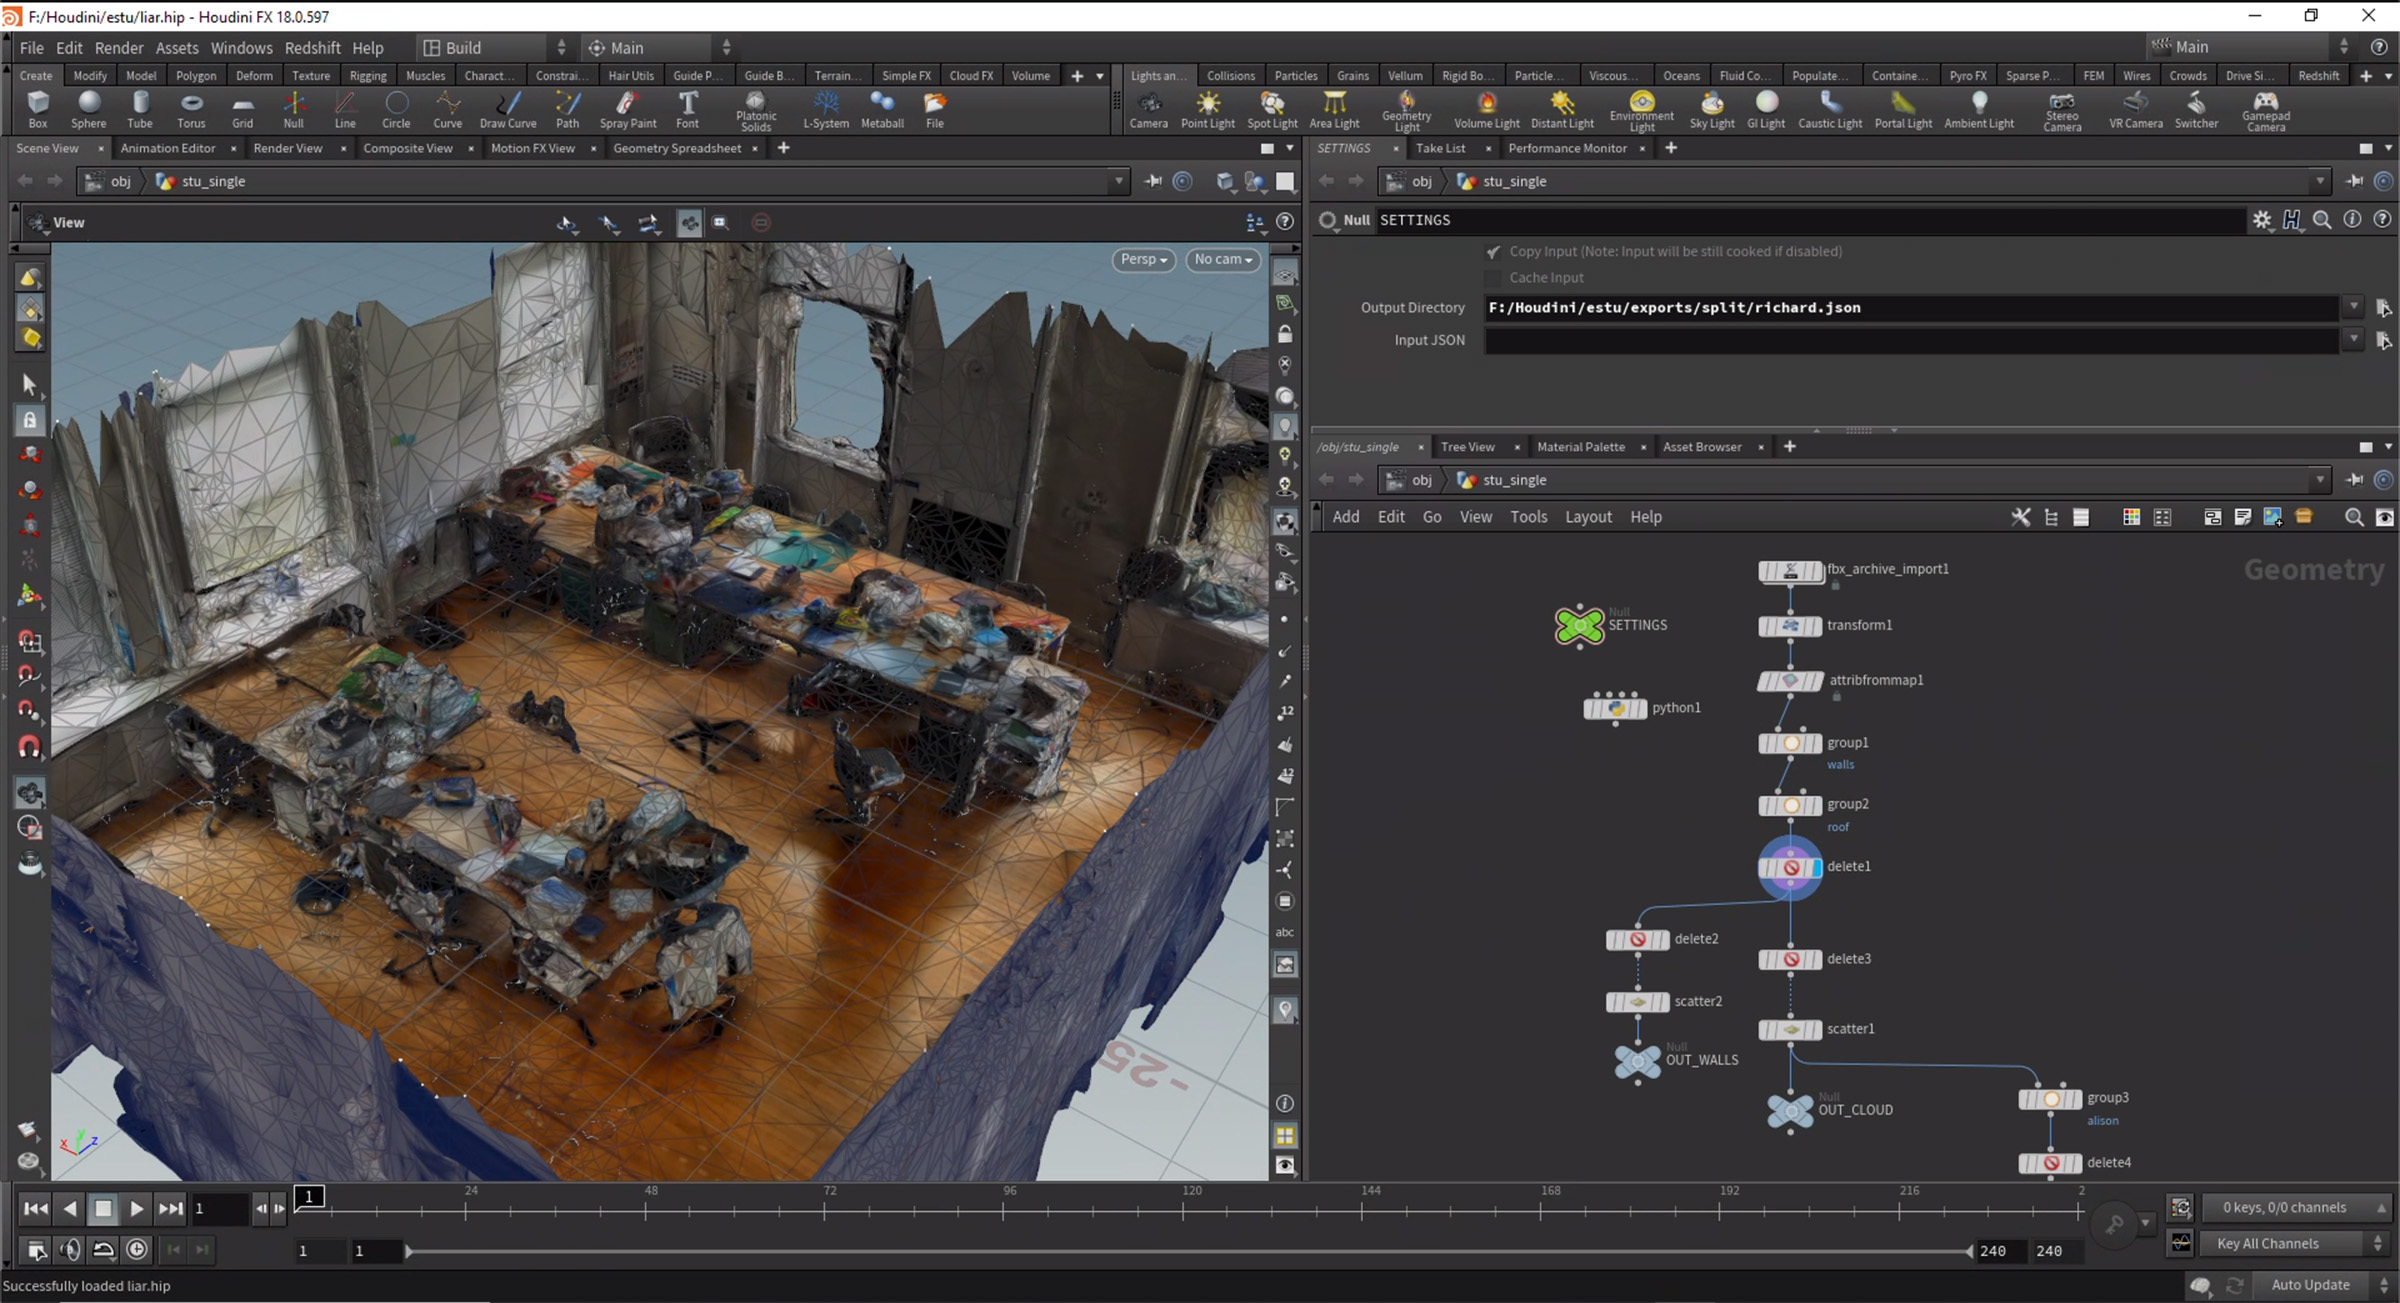
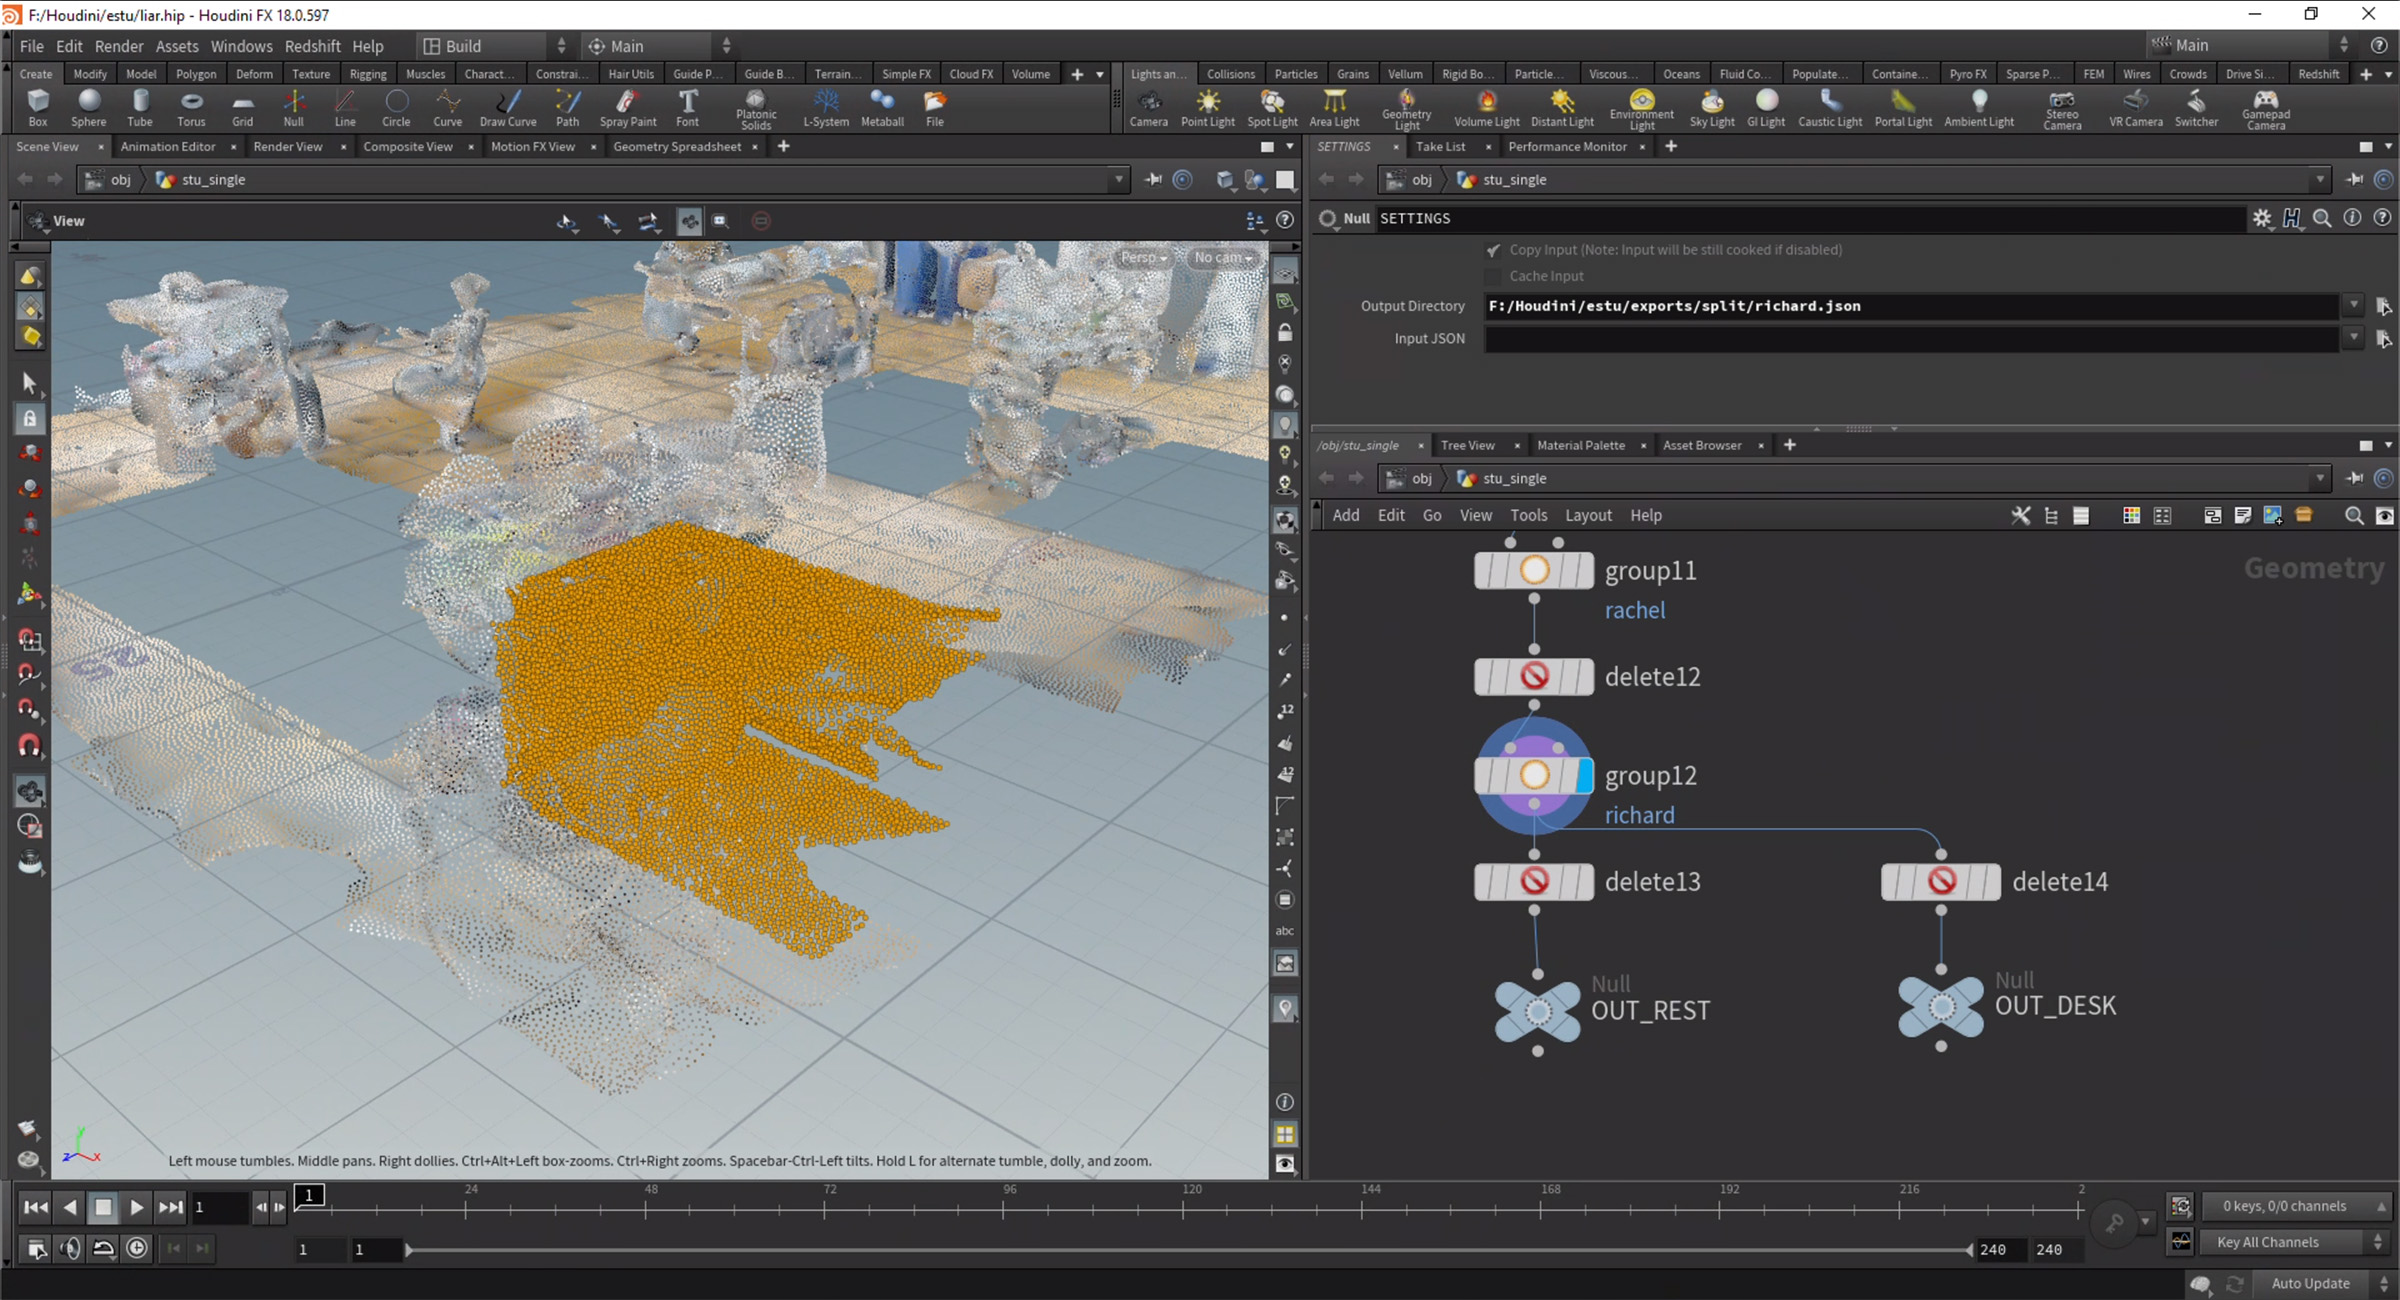
The model then moved into Houdini to clean up any artifacts leftover from the VDB smoothing process and convert the mesh into a point cloud. For clarity, the entire roof was removed to have a more direct view of the space. The studio is built from two of these clouds—a high-density cloud for the ten desks and a low-density cloud for the floor and walls. Each desk had its own group to make it possible to animate individual parts of the studio later on. Once all the groups were set up, a Python script exported the groups into separate JSON files that had the position and diffuse color data of each point.
Process > Bringing to Code
The studio map was structured into two primary types of point clouds. The walls and floor made up the static, low-density cloud while the desk was more detailed and would react on cursor events. Writing the desk clouds as a reusable component with props made it easier to debug and scale. Each desk had a hidden cube hitbox for the cursor that would display a flag with more information about the desk’s owner. The point cloud used its passed props to customize the text and point it to the correct file with the vertex data. The position and color of the individual vertices were given as static buffer attributes to make each desk a single draw call.
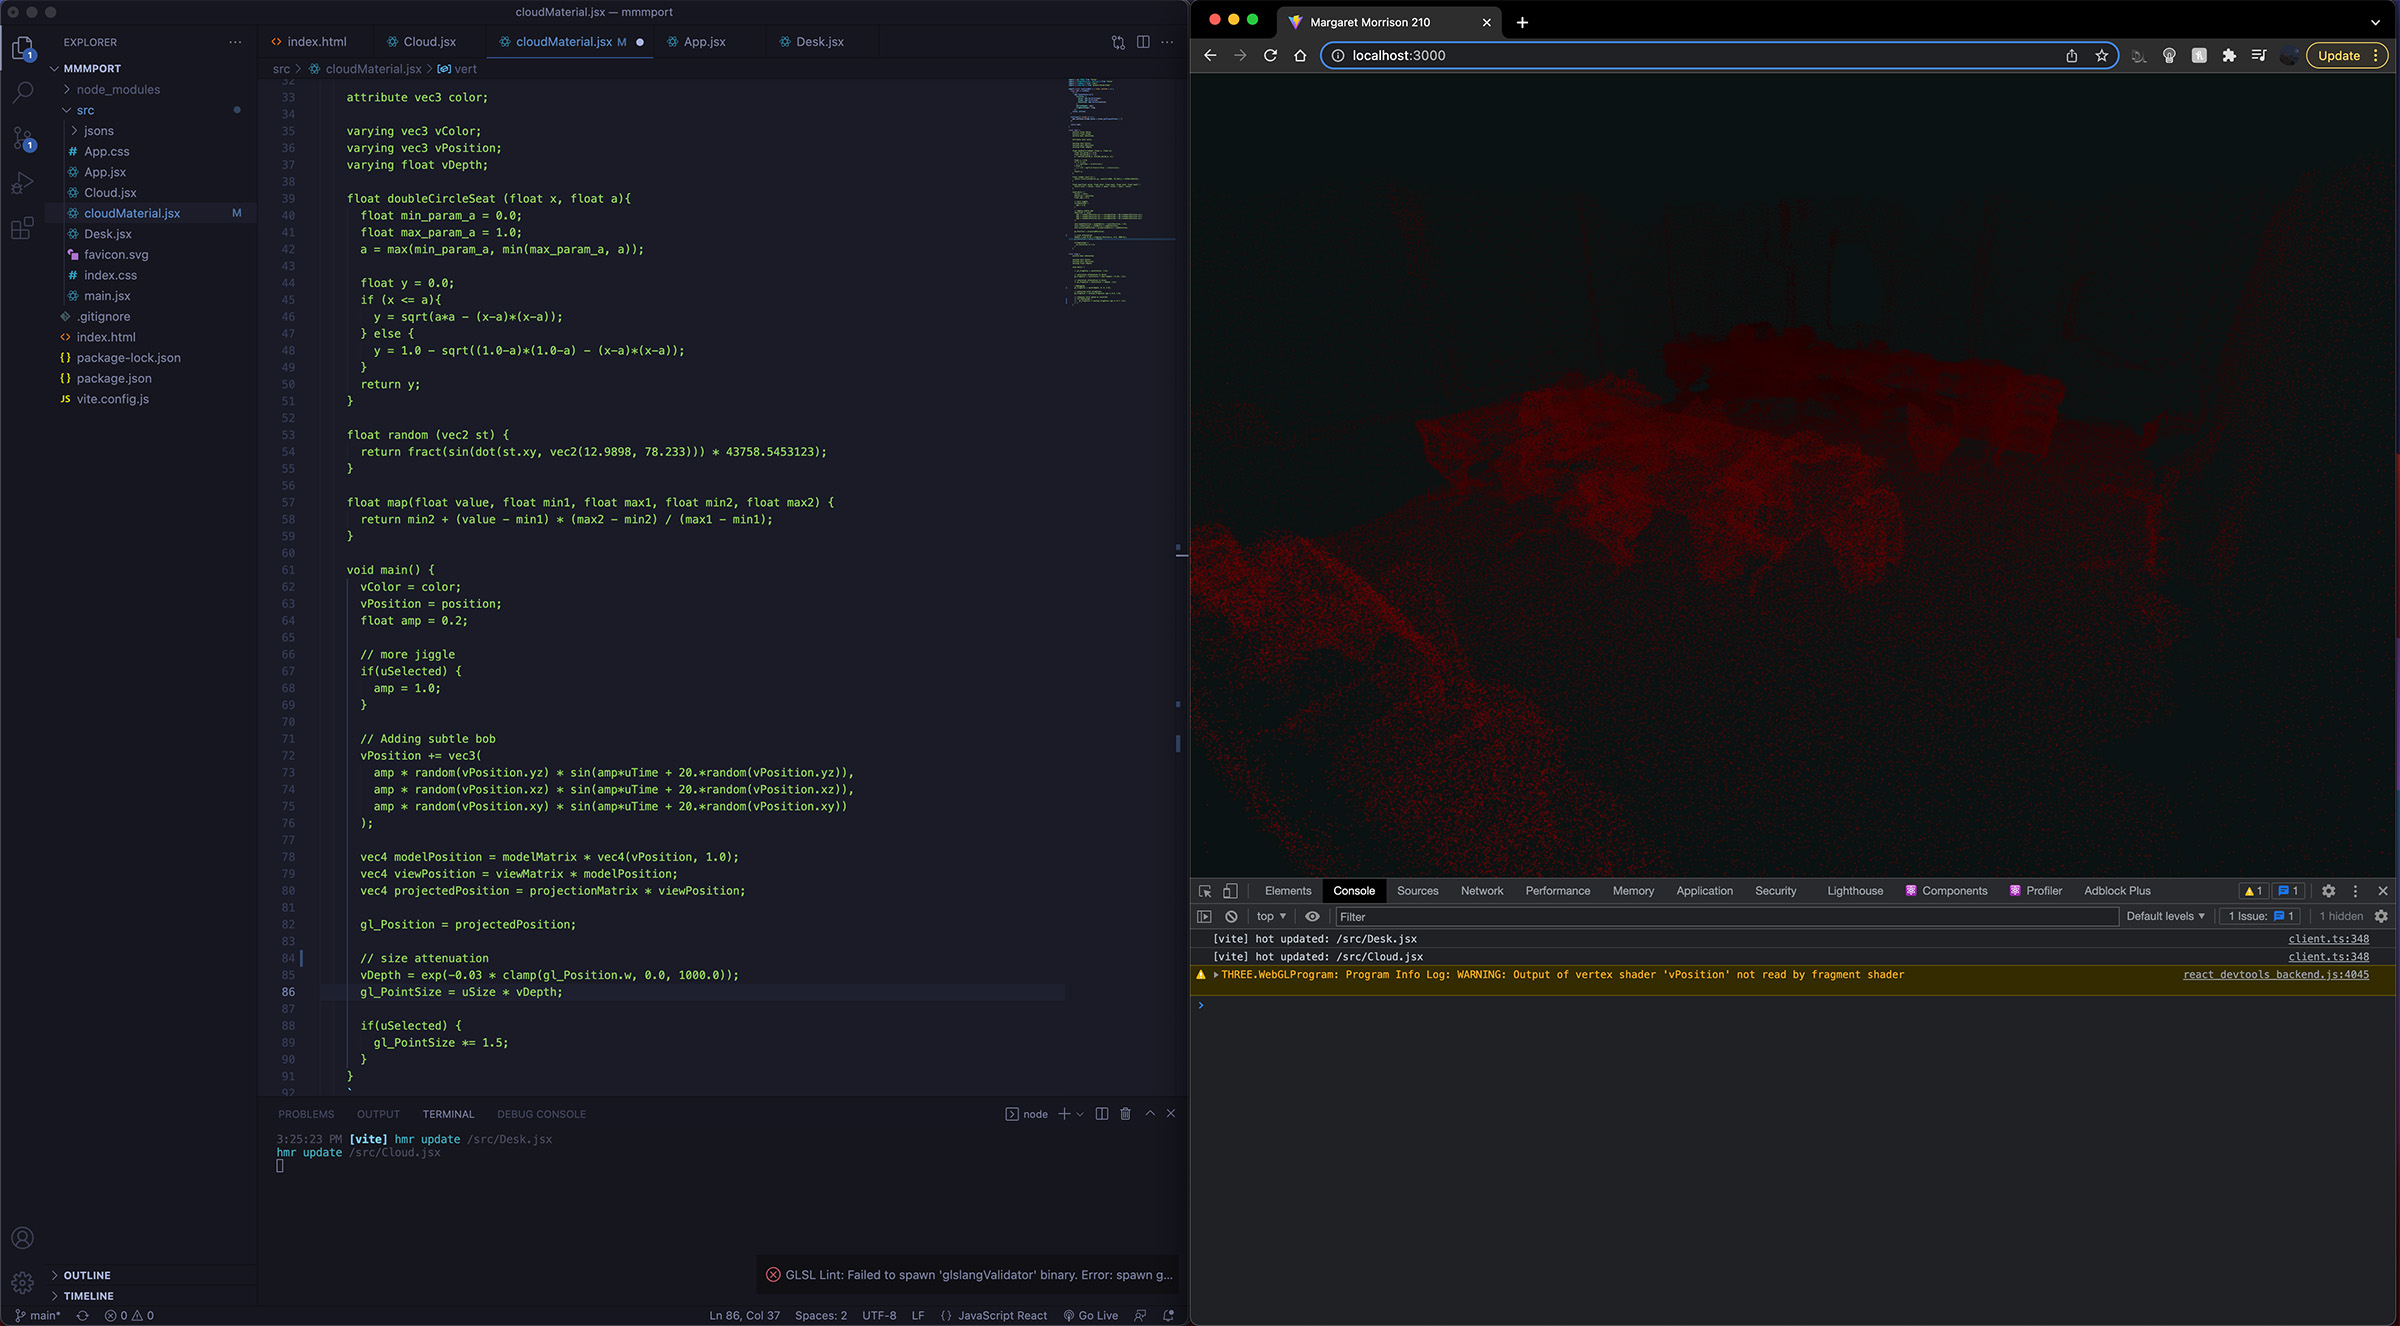
Diving into the shader allows for more fine control of effects for each vertex. Some subtle bobbing in the vertex shader made the whole scene feel less flat and dead. The depth of each point is passed through a shaping function and used as a varying for size and color attenuation. Points further from the camera appear smaller and more faded while closer points are larger and more saturated. There seemed to be an issue where harsh banding of different point sizes was noticeable. Looking at how to fix that.
A separate shader uniform added some pizzaz to the desk if it was hovered over. Increased frequency and amplitude of the points bouncing around made it pop out from its surroundings when selected. Tweaking the color saturation also improve the liveliness and satisfaction of moving through the point cloud.
